
Shaker Cabinet Door Anatomy: Stiles, Rails, Panels
By TC Wholesale Cabinetry · Editorial team
September 9, 2026 · 8 min read
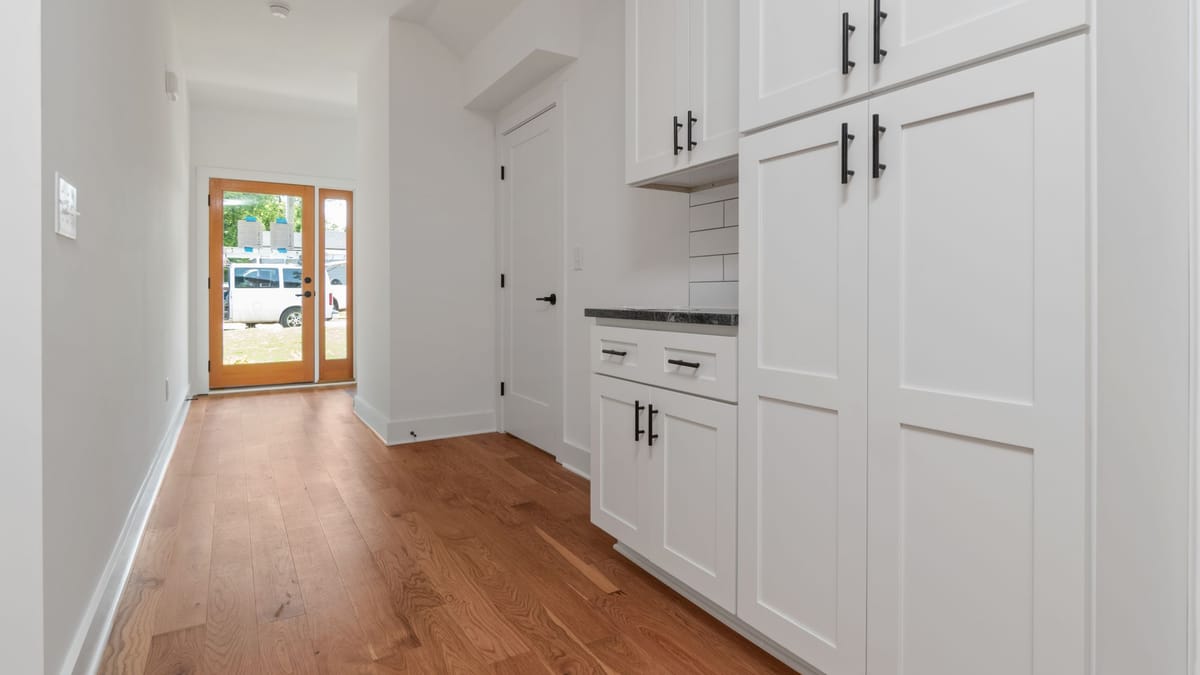
The short answer: a Shaker cabinet door is a four-piece solid-wood frame — two vertical stiles and two horizontal rails — holding one flat center panel that floats free inside a groove. That floating panel is the whole engineering trick: wood expands and contracts with humidity, and the groove gives it room to move without cracking the frame. Once you understand these five pieces and the two joints that hold them together, you can judge any Shaker door in about sixty seconds.
The five pieces of a Shaker door
Strip a Shaker door down to its components and you get two stiles, two rails, and one center panel — five pieces, each with a distinct job. The frame pieces are virtually always solid wood, because they carry hinges, knobs, and daily handling. The panel is the variable: solid wood on premium doors, engineered MDF or HDF on painted value lines. Knowing which piece does what tells you exactly where to look when you unbox an order.
- Stiles: the two vertical frame members, left and right. They carry the hinge screws on wall and base doors and take the pull force every time you open the cabinet, so straight grain and stable stock matter most here.
- Rails: the two horizontal frame members, top and bottom. The bottom rail is sometimes wider than the top as a traditional furniture detail, and it absorbs kicks, bumps, and cleaning wear on base doors.
- Center panel: the flat recessed middle that gives Shaker its signature look. It sits in grooves cut into the inner edges of the frame — never glued rigid — so it can expand and contract across seasons without splitting anything.
- The groove: the hidden channel inside the frame edges that captures the panel. A clean, even-depth groove holds the panel flat and rattle-free; a sloppy one lets it shift, buzz, or sit crooked in the opening.
- The inside edge profile: the small step, bevel, or bead where the frame meets the panel. This detail catches light and creates the shadow line that makes one Shaker door read crisp and another read soft — profile options are covered in our Shaker door profile guide.
Stiles and rails: the frame that does the work
The frame is the structural half of the door, and its quality decides whether doors hang true for decades or start sagging within a few years. Stiles do the heaviest lifting: hinge screws bite into the stile, so soft, knotty, or thin stile stock means screws loosen and doors drift out of alignment. When you inspect a door, sight down each stile like a rifle barrel — any bow, twist, or wind shows immediately, and a warped stile will never adjust into a flat plane no matter how you tune the hinges.
Rails matter differently. The top rail anchors the upper hinge zone on tall doors and resists the racking force of daily pulls, while the bottom rail takes abuse from feet, mops, and vacuum cleaners on base cabinets. Width and proportion also shape the look: narrow, even-width frames with a large panel read contemporary, while a wider bottom rail reads traditional and furniture-like. Either way, the rail-to-stile corners should be tight enough that you cannot slip a fingernail into the seam — that joint is where craftsmanship is most visible and least fakable.
Cope-and-stick vs mitered joints
There are two ways to join the frame corners, and the difference shows up in both durability and appearance. In a cope-and-stick joint, the rail ends are shaped (coped) to fit the profiled inner edge of the stile at a 90-degree butt joint, usually reinforced with glue and sometimes dowels or a tenon. In a mitered joint, the rail and stile meet at a 45-degree angle, like a picture frame, with the inside edge profile running continuously around all four corners. Both methods build a good door when executed well — but they fail differently and look different up close.
- Cope-and-stick: more gluing surface and a mechanical interlock, so the joint resists racking and seasonal movement well. The tell: look at the corner and you will see a square 90-degree seam where the rail meets the stile, with the inside profile stopping at the joint. This is the workhorse joint on most RTA and stock Shaker lines.
- Mitered: a continuous, unbroken profile line around the opening that many buyers find more refined — no square seam interrupting the bevel or bead. The tradeoff: a 45-degree glue joint has less long-grain gluing surface, so it depends more on precise machining, good glue, and often hidden reinforcement to stay tight through humidity cycles.
- How to judge either one: press the corner gently and look for flex, check for glue squeeze-out or filler packed into the seam, and inspect the profile alignment — on a mitered door the bevel should flow around the corner without a step; on a cope-and-stick door the coped end should nest flush with no daylight gap.
- What matters more than the joint type: square assembly overall. Lay the door on a flat surface and check that all four corners touch evenly — a door glued out of square will bind, gap, or need aggressive hinge adjustment no matter how the corners were cut.
For painted RTA cabinets, cope-and-stick is the common and sensible default: strong, stable, and easy to touch up if a hairline seam ever opens at the joint. Mitered Shaker doors earn their place where the continuous profile line matters to the design — just inspect the miters closely on arrival, since a miter that opens slightly is far more visible than a cope seam doing the same. Our RTA Shaker guide explains how door construction fits into the broader buying decision.
MDF vs solid wood center panels
The center panel is where buyers argue most, and the honest answer is that each material wins in a different finish. MDF or HDF panels are engineered wood fiber pressed into a dense, uniform sheet with no grain. Because there is no grain, there is nothing to expand unevenly, telegraph through paint, or open hairline cracks along — which makes engineered panels the better engineering choice under painted finishes. The painted surface stays glass-smooth across heating seasons that punish solid wood. Solid wood panels are exactly what they sound like: real boards, often glued up from narrower stock, showing genuine grain and texture. Under stain or clear finish they look richer and more authentic than any imitation, and they can be sanded and refinished decades later in a way MDF cannot.
- Choose MDF/HDF panels for: any painted finish, especially white and light colors where grain telegraphing shows most. The uniform surface takes paint evenly and resists the center-panel cracks that plague painted solid wood in dry winter air.
- Choose solid wood panels for: stained or natural finishes where real grain is the point, and for buyers who value long-term refinishability. Expect normal seasonal movement — that is what the floating groove is for — and keep indoor humidity reasonably stable.
- The non-negotiable either way: the frame should be solid wood. An engineered frame paired with a solid panel is cost-cutting in the wrong place, since hinges, screws, and daily forces all load the frame, not the panel. Confirm the exact construction on the product spec before ordering.
- Density tells the tale: pick up the door — a quality MDF/HDF panel feels solid and dead, with no hollow resonance when tapped. A thin, light panel that drums like a tambourine suggests corners were cut where you cannot see them.
One persistent myth deserves burial: an MDF center panel does not make a Shaker door cheap or fake. On painted lines it is a deliberate, technically sound choice that finishers prefer — the flaws to watch for are thin panels, hollow resonance, and rough panel edges visible in the shadow gap, not the material itself. Compare finishes in person with samples before deciding, since photography flatters every panel material equally, and see how color choice interacts with panel and profile in our Shaker colors guide.
How to tell a good Shaker door from a cheap one
You do not need a workshop to grade a Shaker door — you need daylight, a flat surface, and five minutes per door. Run this inspection on delivery day, while any claim still falls comfortably inside the delivery window, and check every door rather than sampling two or three from the stack.
- Sight down the stiles: hold each door at eye level and look along both vertical edges. Warps, bows, and twists reveal themselves instantly against a straight sightline — reject anything that will not hang flat.
- Work the joints: rail-to-stile corners should be tight, flush, and free of filler, with no visible glue squeeze-out. Press each corner gently; movement or creaking means the joint was starved of glue or machined loose.
- Tap and press the panel: it should sit flat in its opening and shift almost imperceptibly — proof it floats rather than being glued rigid. A panel locked tight with glue will eventually crack its frame as seasons change.
- Read the inside edge in raking light: tilt the door so daylight grazes the step where frame meets panel. A crisp, consistent shadow line reads quality; waviness, chatter marks, or filler smeared along the transition reads rushed machining.
- Check the finish on edges first: thin, dry, or rough coverage always shows on door edges and the inside profile before anywhere else. Runs, sags, and dry spray hide under warehouse lighting, so inspect in daylight.
- Test the back side too: flip the door and repeat the sighting and joint checks. Backs get less finish attention on value lines, and a door finished on one face only will cup toward the unfinished side over time.
Finally, check fit against the cabinet itself: doors should sit square in their openings with even reveals, and hinges should adjust smoothly through their full range without maxing out. A door that needs extreme hinge adjustment to look right is usually a door that was machined or assembled out of square. For context on how doors, boxes, and hardware succeed or fail together, the framed vs frameless guide and the cabinet buying guide complete the picture.
Shaker door anatomy questions
What is the difference between a stile and a rail?
Stiles are the two vertical frame pieces and rails are the two horizontal ones — that orientation is the entire distinction. Stiles carry the hinges and the pull forces of opening; rails span between the stiles top and bottom and set the door's proportions. Remember it as: stiles stand, rails rest.
Is cope-and-stick stronger than a mitered joint?
Generally yes for kitchen duty: the 90-degree coped joint offers more long-grain gluing surface and a mechanical interlock that resists racking. Mitered joints can be perfectly durable when precisely machined and reinforced, and they give a continuous profile line many buyers prefer — but they demand tighter manufacturing tolerances to stay closed through humidity swings.
Are MDF center panels bad quality?
No — under paint, a dense MDF or HDF panel is often the superior choice because it will not expand, contract, or telegraph grain the way solid wood does. Panel material becomes a red flag only when it is thin, light, or hollow-sounding, or when the frame itself is engineered rather than solid wood. Judge the panel by density and finish, not by the acronym.
Why does my Shaker door panel move when I press it?
That slight movement is correct — the panel is designed to float inside its groove so seasonal expansion has somewhere to go. A panel that shifts a hair under finger pressure but sits flat and silent in normal use is built right. Worry instead about a panel that rattles loosely or one glued so rigid it cannot move at all.
See real Shaker doors on real boxes in the cabinet catalog, compare finishes first with samples, and price your layout with a free quote.
Anatomy learned in five minutes pays off for twenty years — order samples and feel the difference a tight joint and a dense panel make.
Keep reading
- Shaker Cabinet Doors: Profile, Panel, and What to Check
Five pieces make a Shaker door: two rails, two stiles, one recessed panel. Here is what each part does, where quality hides, and what to check when boxes arrive.
- Ready-to-Assemble Shaker Cabinets: The Complete Guide
Why the five-piece Shaker door stays the safe, timeless choice — and how ready-to-assemble Shaker cabinets deliver it factory-direct, in white and gray.
- Shaker Cabinet Colors: Gray, Cream, Espresso-Look & Wood
White is only the starting point. Here is how gray, cream, espresso-look, and wood-tone Shaker cabinets each behave in a real kitchen — and how to confirm the color before you commit.
- Framed vs. Frameless Cabinets: Differences, Pros and Cons
Framed cabinets fasten a hardwood frame to the front of the box; frameless cabinets skip it for full-access storage. Here is how the two builds compare on strength, space, style, cost, and installation.
- Kitchen Cabinet Buying Guide (2026): Construction, Cost, and How to Order
Box construction, door styles, RTA vs. assembled vs. custom, sizes, and the factory-direct ordering path — everything a first-time cabinet buyer needs, in order.
Ready to plan your kitchen?
Send us your layout for a free, no-obligation quote, or browse the full factory-direct catalog of all-plywood Shaker cabinets.